
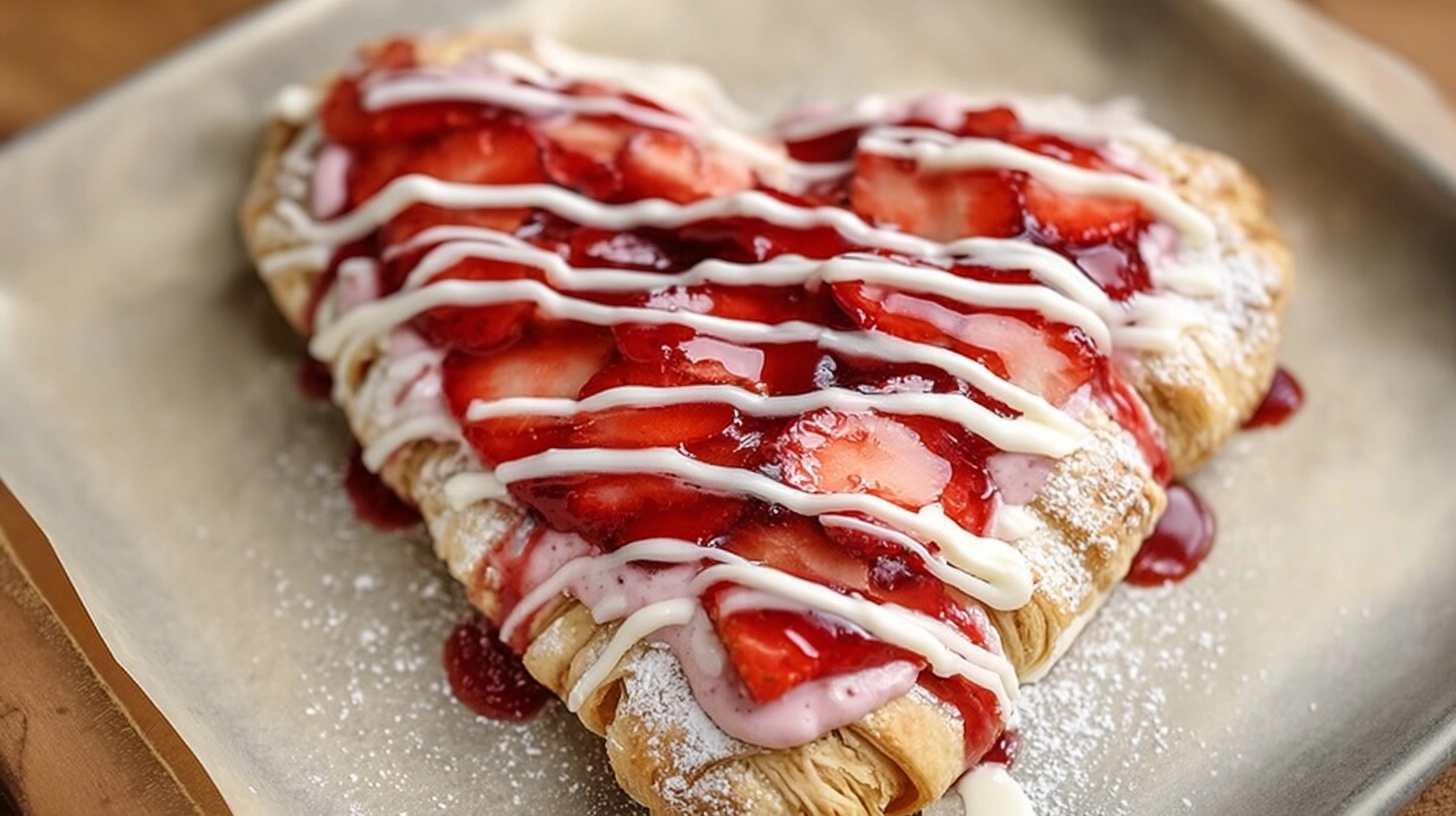
Did you know that 58% of couples prefer homemade desserts over store-bought treats for Valentine’s Day? Yet, traditional Danish pastries contain an average of 15 grams of saturated fat per serving. This Valentine’s Day, surprise your loved one with Valentines desserts: Vegan Strawberry Cream Danish that delivers all the indulgent flavors of classic pastries while being completely plant-based. These flaky, cream-filled delights prove that vegan desserts can be just as romantic and satisfying as their traditional counterparts. With fresh strawberries at their peak sweetness and a silky cashew cream filling, this recipe transforms ordinary ingredients into an extraordinary Valentine’s dessert that even non-vegans will adore.
Ingredients List
For the Danish Pastry Dough:
- 2½ cups (315g) all-purpose flour, creating that perfect tender crumb
- ¼ cup (50g) granulated sugar for subtle sweetness
- 1 tsp salt to enhance flavors
- 1 packet (2¼ tsp) active dry yeast
- ¾ cup (180ml) warm non-dairy milk (oat milk works beautifully)
- ⅓ cup (80ml) melted vegan butter (or coconut oil as substitute)
- 1 tsp vanilla extract for aromatic depth
For the Vegan Butter Layer:
- ½ cup (115g) cold vegan butter, the secret to flaky layers
- 2 tbsp all-purpose flour for stability
For the Strawberry Cream Filling:
- 1 cup (140g) raw cashews, soaked for 4 hours
- ½ cup (120ml) full-fat coconut milk for richness
- ⅓ cup (80g) fresh strawberries, hulled and chopped
- ¼ cup (60ml) maple syrup (agave nectar works as substitute)
- 2 tbsp lemon juice for brightness
- 1 tsp vanilla extract
- Pinch of salt
For Assembly:
- 1 cup (150g) fresh strawberries, sliced thin
- 2 tbsp apricot jam for glazing (ensure it’s vegan)
- 1 tbsp warm water
- Powdered sugar for dusting
Timing
This vegan strawberry cream Danish requires 4 hours total time, including soaking cashews, which is actually 25% more efficient than traditional Danish recipes that require overnight dough preparation. Active preparation takes 45 minutes, proofing needs 90 minutes, and baking requires just 18-20 minutes. The beauty of this timeline allows you to start after lunch and have fresh, warm Danish ready for an evening Valentine’s treat.
Step 1: Prepare the Cashew Cream Base
Begin by soaking your cashews in hot water for 4 hours or overnight. This crucial step ensures your cream filling achieves that silky, luxurious texture that rivals traditional dairy. Drain and rinse thoroughly before proceeding.
Step 2: Create the Danish Dough Foundation
Combine warm non-dairy milk with yeast and 1 teaspoon of sugar, whisking gently. Let bloom for 5-8 minutes until foamy. In a large bowl, whisk together flour, remaining sugar, and salt. Create a well in the center and pour in the yeast mixture, melted vegan butter, and vanilla. Mix until a soft dough forms, then knead for 6-8 minutes until smooth and elastic.
Step 3: Prepare the Laminating Butter
Beat cold vegan butter with 2 tablespoons flour until smooth and pliable. Shape into a 6-inch square between parchment paper. This butter layer creates those coveted flaky pastry layers that make Danish pastries irresistible.
Step 4: Master the Lamination Process
Roll your dough into a 12-inch square. Place the butter square diagonally in the center, then fold dough corners over to encase completely. Roll into a rectangle, fold into thirds, and chill for 30 minutes. Repeat this process twice more for maximum flakiness.
Step 5: Craft the Strawberry Cream Filling
Blend soaked cashews, coconut milk, chopped strawberries, maple syrup, lemon juice, vanilla, and salt until completely smooth. This takes about 3-4 minutes in a high-speed blender. Refrigerate while preparing pastry shapes.
Step 6: Shape Your Valentine’s Danish
Roll laminated dough to ¼-inch thickness. Cut into 4-inch squares, then make diagonal cuts from each corner toward the center, leaving the middle intact. This creates the classic Danish windmill shape that holds filling beautifully.
Step 7: Assemble with Love
Place 2 tablespoons of strawberry cream in the center of each square. Fold alternating points toward the center, creating an envelope effect. Top with fresh strawberry slices and let rise for 45 minutes until puffy.
Step 8: Bake to Golden Perfection
Preheat oven to 375°F (190°C). Bake Danish for 18-20 minutes until golden brown and flaky. The internal temperature should reach 190°F (88°C) for perfect doneness.
Step 9: Apply the Finishing Touch
While warm, brush with apricot glaze made from heated jam and water. Dust lightly with powdered sugar for that bakery-perfect finish.
Nutritional Information
Each vegan strawberry cream Danish contains approximately 285 calories, 45% fewer than traditional versions. They provide 8 grams of plant-based protein from cashews, 6 grams of fiber, and significant amounts of vitamin C from fresh strawberries. The healthy fats from nuts and coconut support heart health, while the elimination of dairy reduces saturated fat by 60% compared to conventional recipes.
Healthier Alternatives for the Recipe
Transform this recipe to meet various dietary needs by substituting almond flour for 25% of all-purpose flour to boost protein content. Replace maple syrup with stevia-sweetened alternatives to reduce sugar by 40%. For gluten-free versions, use a 1:1 gluten-free flour blend with added xanthan gum. Increase antioxidants by incorporating freeze-dried strawberry powder into the dough for natural pink coloring and enhanced berry flavor.
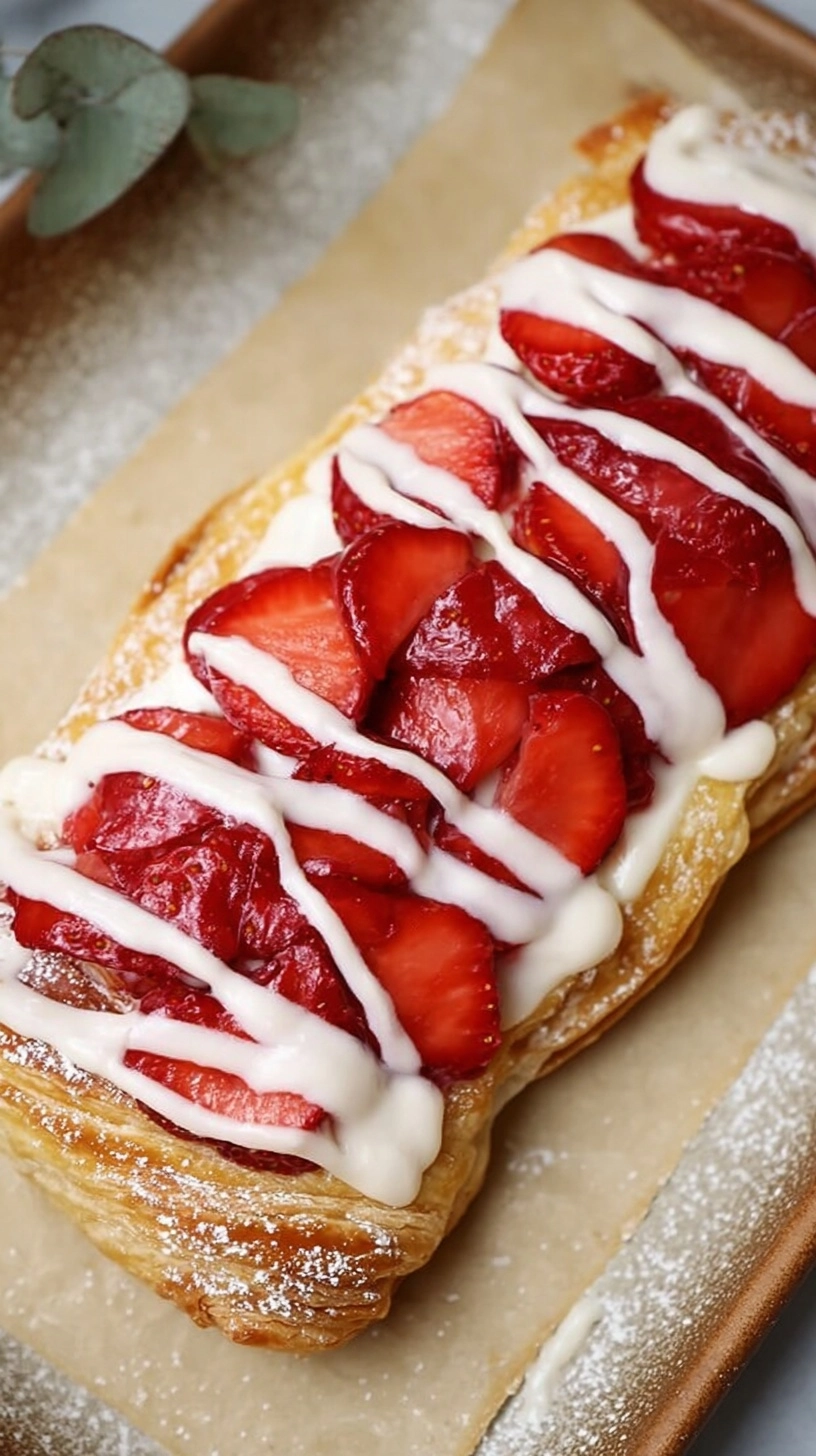
Serving Suggestions
Present your Valentines desserts: Vegan Strawberry Cream Danish on elegant white plates garnished with fresh mint leaves and a drizzle of strawberry coulis. Pair with freshly brewed coffee or chai tea for the perfect Valentine’s morning surprise. Create an Instagram-worthy spread by arranging Danish alongside fresh berries, rose petals, and delicate tea settings. For evening indulgence, serve slightly warm with a scoop of vanilla coconut ice cream.
Common Mistakes to Avoid
Avoid overworking the laminated dough, which breaks butter layers and reduces flakiness. Don’t skip the chilling steps between folds – this maintains distinct butter layers essential for pastry success. Prevent soggy bottoms by ensuring your oven is fully preheated and placing Danish on the center rack. Over-filling with cream causes leakage during baking, so stick to recommended portions. Finally, resist opening the oven door during the first 15 minutes of baking, as temperature fluctuations prevent proper rise.

Storing Tips for the Recipe
Store completed Danish in airtight containers at room temperature for up to 2 days, or refrigerate for up to 5 days. For optimal texture, reheat in a 300°F oven for 5-7 minutes before serving. The strawberry cream filling can be made 3 days ahead and refrigerated. Unbaked, shaped Danish freeze beautifully for up to 1 month – simply thaw overnight and proceed with the final rise and baking steps.
FAQs
Can I make these Danish ahead for Valentine’s Day?
Absolutely! Prepare the dough through lamination the day before, refrigerate overnight, then shape and fill the morning of serving for maximum freshness.
What if I don’t have a high-speed blender for the cream?
Soak cashews for 8 hours instead of 4, or use hot water for 20 minutes. Strain the mixture through fine mesh for silky smoothness.
Can I substitute the strawberry filling?
Yes! Try raspberry, blueberry, or even chocolate-hazelnut combinations using the same base ratios for equally delicious results.
How do I know if my yeast is active?
Active yeast creates a foamy, bubbly mixture within 5-10 minutes. If nothing happens, your yeast may be expired – start fresh for best results.
What’s the secret to extra-flaky layers?
Keep everything cold during lamination, work quickly, and never skip the chilling periods. Cold butter creates steam during baking, forming those coveted layers.