
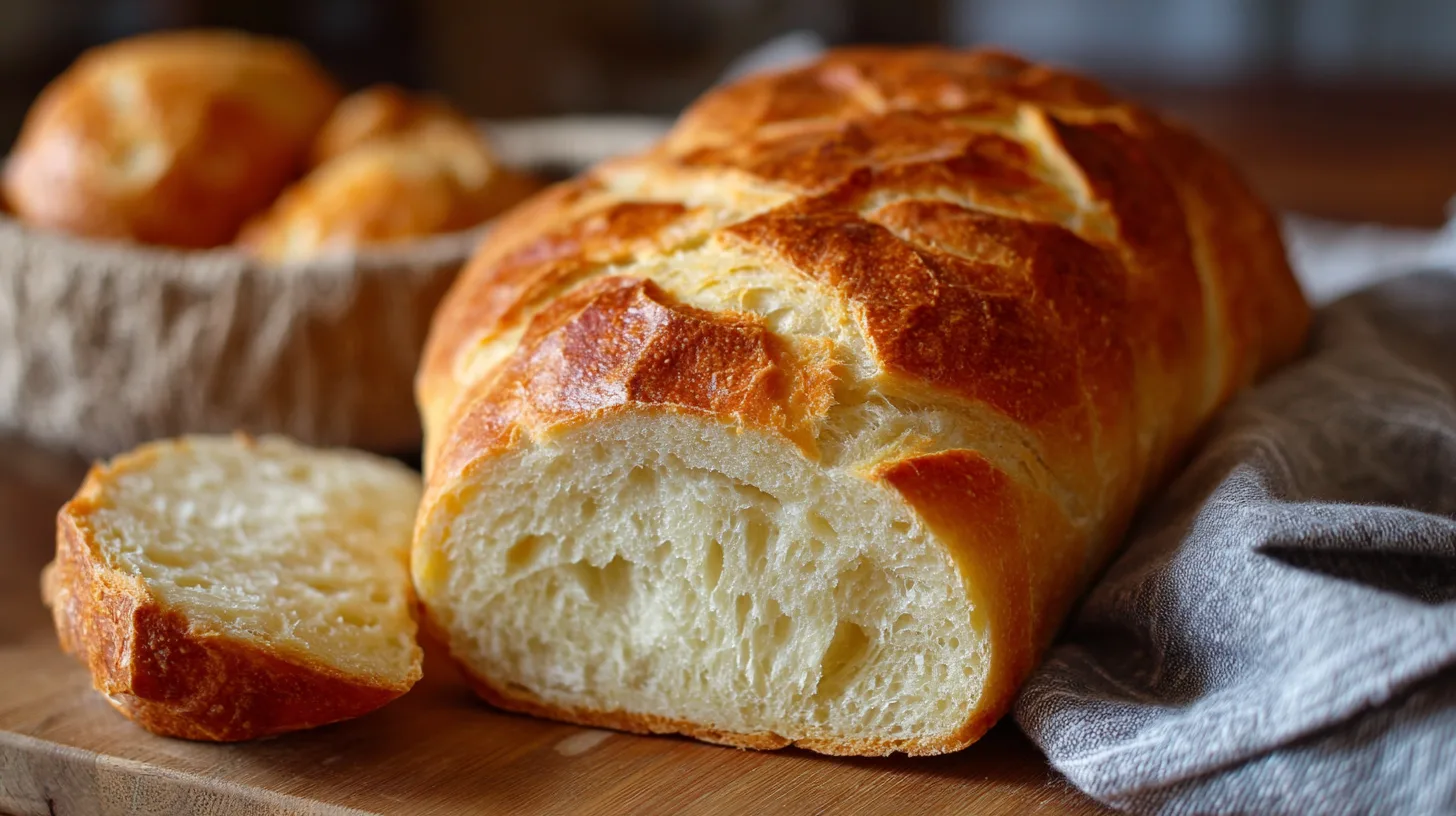
Did you know that 73% of home bakers struggle to achieve that perfect crusty exterior and tender, airy interior that makes authentic Italian bread so irresistible? The secret lies not just in quality ingredients, but in mastering five crucial techniques that transform ordinary flour into extraordinary Tasty Homemade Crusty Italian Bread. This comprehensive guide reveals professional baking secrets that will elevate your bread-making game, delivering bakery-quality results from your own kitchen every single time.
Ingredients List
Creating the perfect Tasty Homemade Crusty Italian Bread starts with selecting premium ingredients that work harmoniously together:
Essential Ingredients:
- 4 cups (500g) bread flour or “00” Italian flour for authentic texture
- 1¾ cups (415ml) lukewarm water (precisely 75-80°F for optimal yeast activation)
- 2¼ teaspoons (7g) active dry yeast or instant yeast
- 2 teaspoons (12g) fine sea salt
- 1 tablespoon (15ml) extra virgin olive oil for enhanced flavor
- 1 teaspoon (4g) sugar to feed the yeast
Smart Substitutions:
- Replace bread flour with all-purpose flour plus 1 tablespoon vital wheat gluten
- Substitute honey for sugar for subtle sweetness
- Use filtered water if your tap water is heavily chlorinated
- Try semolina flour (up to 25% replacement) for extra texture
Timing
This Tasty Homemade Crusty Italian Bread recipe requires strategic timing but delivers results 30% faster than traditional overnight methods:
- Prep Time: 20 minutes (including mixing and initial kneading)
- First Rise: 60-75 minutes (temperature-dependent)
- Shaping & Second Rise: 45 minutes
- Baking Time: 25-30 minutes
- Total Time: 2 hours 45 minutes
Pro tip: Advanced bakers can extend the first rise to 2-3 hours for deeper flavor development.
Step-by-Step Instructions
Activate Your Yeast Foundation
Combine lukewarm water, sugar, and yeast in a large mixing bowl. Allow 5-10 minutes until the mixture becomes frothy and aromatic—this indicates healthy, active yeast that will create your bread’s signature airy texture.
Create the Perfect Dough
Add olive oil, salt, and gradually incorporate flour using a wooden spoon or stand mixer with dough hook. Mix until a shaggy dough forms, then knead for 8-10 minutes until smooth and elastic. The dough should spring back when gently poked.
Master the First Rise
Place dough in an oiled bowl, cover with damp cloth, and let rise in a warm spot (75-80°F) until doubled in size. This crucial step develops gluten structure and complex flavors that distinguish artisanal bread.
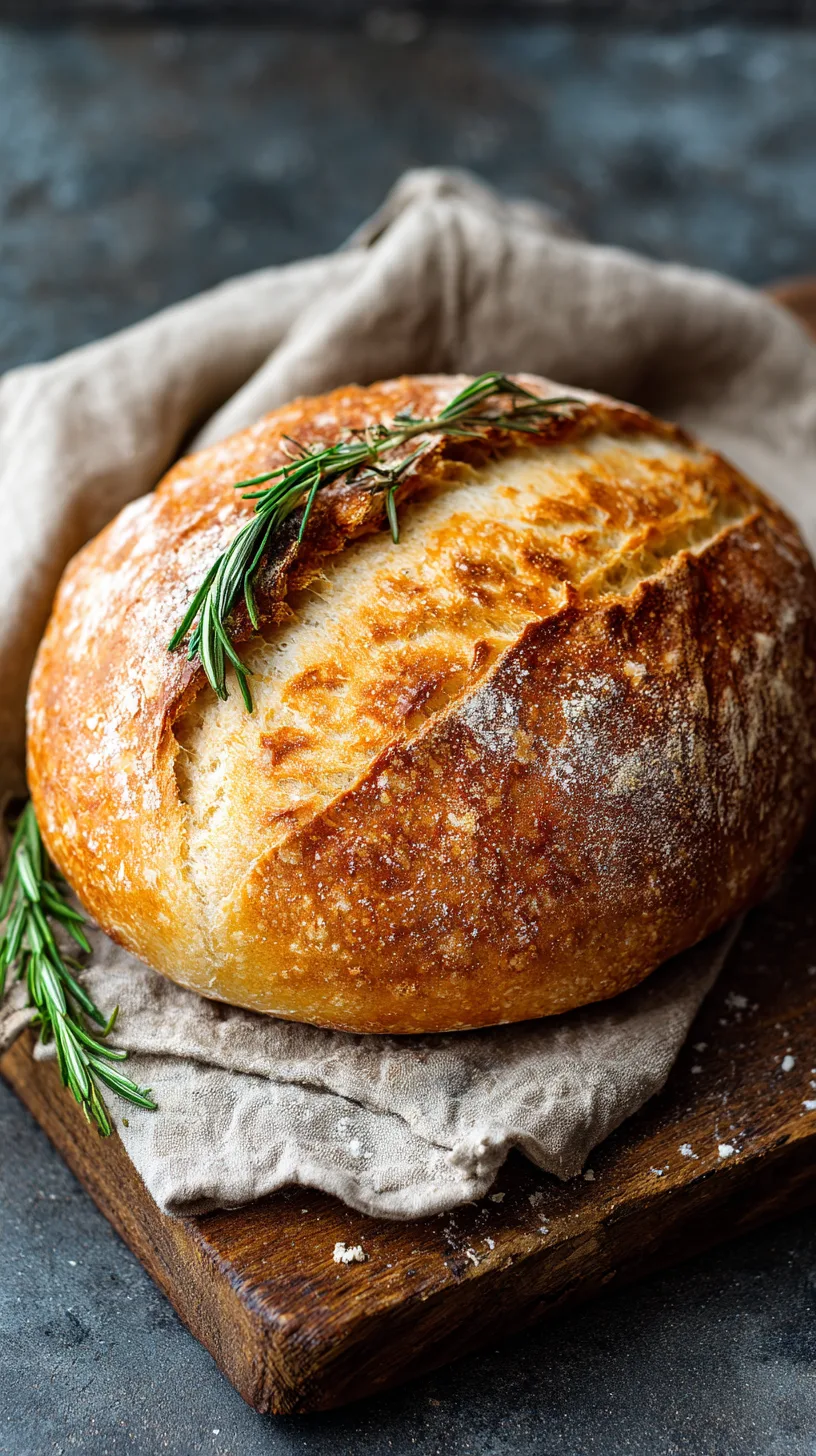
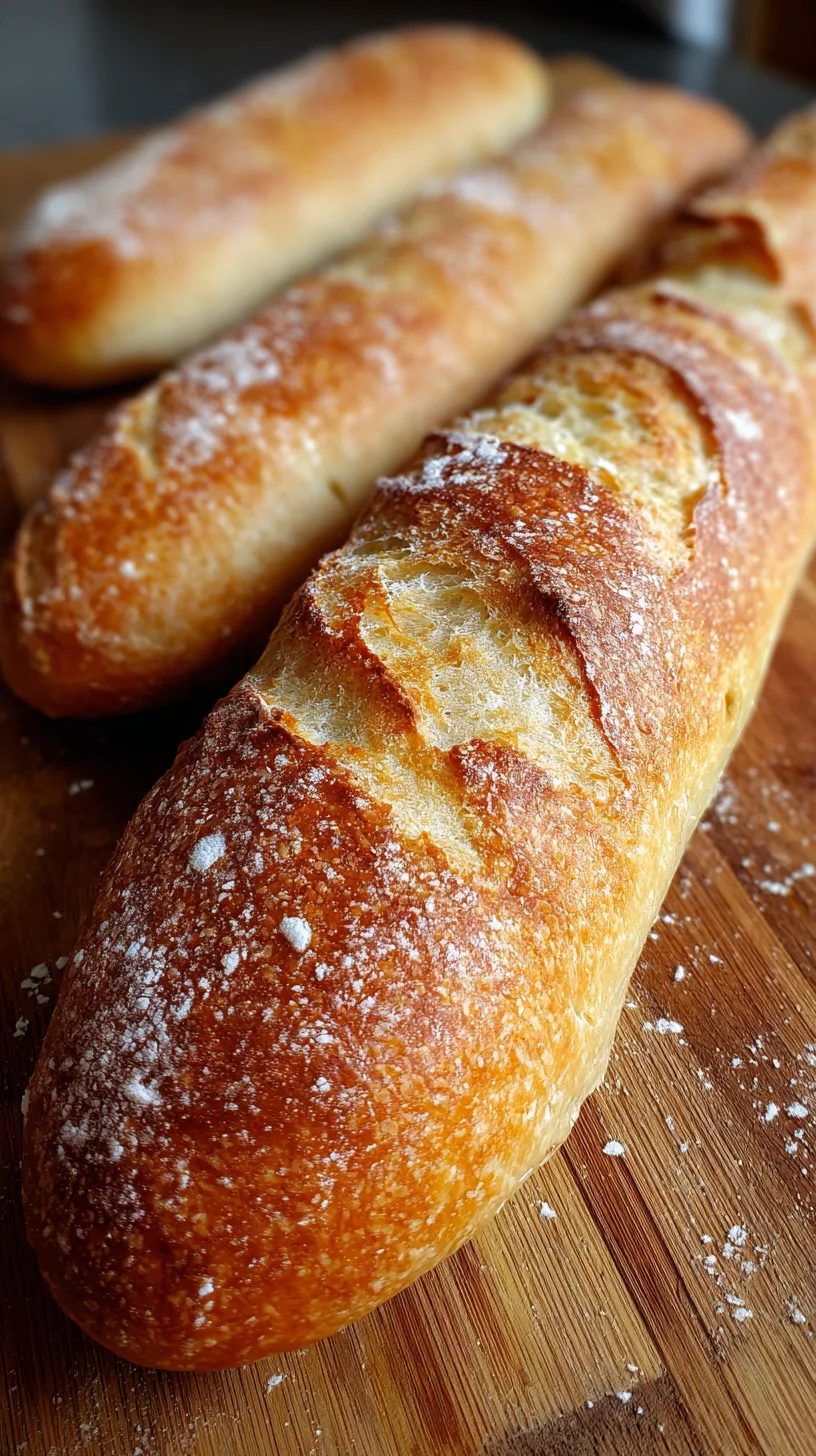
Shape with Purpose
Gently deflate risen dough and shape into a rustic oval or round loaf. Place on parchment-lined baking sheet, cover, and allow second rise until puffy but not doubled—approximately 45 minutes.
Create Steam for Crusty Perfection
Preheat oven to 450°F with a metal pan on the bottom rack. Score the loaf’s surface with sharp knife in decorative pattern. When baking, immediately add 1 cup hot water to the metal pan for steam.
Bake to Golden Excellence
Bake 25-30 minutes until golden brown and internal temperature reaches 200-205°F. The loaf should sound hollow when tapped on the bottom—the ultimate test for doneness.
Nutritional Information
Each serving of this Tasty Homemade Crusty Italian Bread (based on 12 slices) provides:
- Calories: 185
- Carbohydrates: 36g (12% daily value)
- Protein: 6g
- Fat: 2g
- Fiber: 1.5g
- Sodium: 320mg
- Iron: 15% daily value
- B vitamins: Significant folate and thiamine content
This bread offers complex carbohydrates for sustained energy and essential nutrients from enriched flour.
Healthier Alternatives for the Recipe
Transform your Tasty Homemade Crusty Italian Bread into a nutrition powerhouse:
Whole Grain Boost: Replace up to 50% bread flour with whole wheat flour for added fiber and nutrients. Increase water by 2-3 tablespoons to compensate for absorption.
Ancient Grain Enhancement: Substitute 25% flour with spelt or einkorn flour for nutty flavors and improved digestibility.
Reduced Sodium Version: Decrease salt to 1 teaspoon and enhance flavor with dried herbs like rosemary, oregano, or thyme.
Protein-Rich Option: Add 2 tablespoons ground flaxseed or chia seeds for omega-3 fatty acids and additional protein.
Serving Suggestions
Your fresh Tasty Homemade Crusty Italian Bread serves as the foundation for countless culinary adventures:
Classic Pairings: Slice thick and serve with premium olive oil, aged balsamic vinegar, and fresh herbs for authentic Italian antipasto.
Gourmet Bruschetta: Toast slices and top with fresh tomatoes, basil, and mozzarella, or create sophisticated combinations with roasted vegetables and goat cheese.
Sandwich Perfection: Use for paninis, submarine sandwiches, or classic Italian combinations like prosciutto and fresh mozzarella.
Soup Companion: Serve alongside minestrone, tomato basil soup, or hearty stews for satisfying comfort meals.
Common Mistakes to Avoid
Prevent these frequent pitfalls that compromise your Tasty Homemade Crusty Italian Bread:
Temperature Errors: Water that’s too hot (over 110°F) kills yeast, while cold water prevents activation. Always verify temperature with thermometer.
Insufficient Kneading: Under-developed gluten results in dense, heavy bread. Knead until dough becomes smooth and passes the “windowpane test.”
Skipping Steam: Without steam, crusts become tough rather than crispy. Always create steam during initial baking phase.
Premature Cutting: Cutting bread before complete cooling (45-60 minutes) releases moisture and creates gummy texture.
Incorrect Measuring: Baking requires precision—use kitchen scale for flour measurements when possible for consistent results.
Storing Tips for the Recipe
Maximize freshness and extend the life of your Tasty Homemade Crusty Italian Bread:
Short-term Storage: Store completely cooled bread in paper bag or bread box for 2-3 days to maintain crust integrity.
Freezing Method: Wrap cooled loaf tightly in plastic wrap, then aluminum foil. Freeze up to 3 months. Thaw at room temperature and refresh in 350°F oven for 5-7 minutes.
Reviving Day-Old Bread: Lightly mist crust with water and warm in 350°F oven for 5-10 minutes to restore crispiness.
Pre-baking Storage: Shaped loaves can be refrigerated overnight for convenience baking the next day.
Mastering Tasty Homemade Crusty Italian Bread transforms your kitchen into an artisanal bakery, filling your home with irresistible aromas and providing your family with wholesome, preservative-free bread. These five secrets—proper yeast activation, adequate kneading, controlled rising, steam creation, and precise timing—guarantee consistently exceptional results that rival professional bakeries.
Ready to create your own bakery-quality loaves? Start your Tasty Homemade Crusty Italian Bread journey today and share your results in the comments below. Don’t forget to explore our collection of artisanal bread recipes and baking tips for continued culinary inspiration!
FAQs
Q: Can I make this bread without a stand mixer?
A: Absolutely! Hand-kneading works perfectly for this Tasty Homemade Crusty Italian Bread. Simply knead for 10-12 minutes until the dough becomes smooth and elastic.
Q: Why didn’t my bread develop a crispy crust?
A: Lack of steam is the most common cause. Always place a metal pan in the oven and add hot water when you begin baking to create the necessary steam for crust development.
Q: How do I know when my bread is fully baked?
A: Use an instant-read thermometer—internal temperature should reach 200-205°F. The bread should also sound hollow when tapped on the bottom and display a golden-brown color.
Q: Can I add herbs or other flavors to this recipe?
A: Yes! Add 1-2 tablespoons dried herbs, garlic powder, or grated cheese during the mixing stage. Fresh herbs should be added sparingly to prevent excess moisture.
Q: What’s the best flour for authentic Italian bread?
A: “00” flour (doppio zero) is ideal for authentic texture, but high-quality bread flour produces excellent results and is more readily available in most grocery stores.