
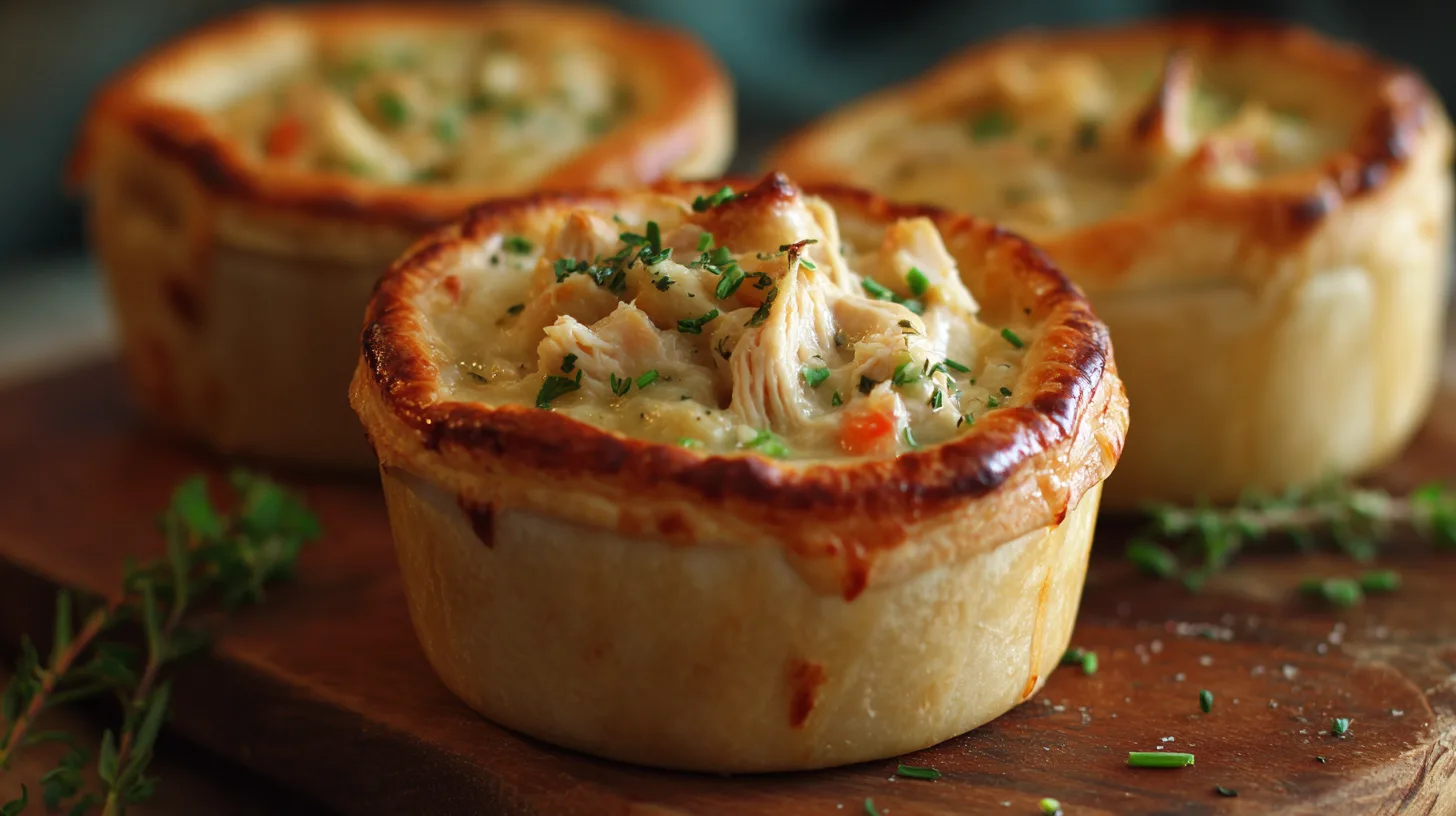
Did you know that comfort food searches spike by 47% during colder months, with pot pie recipes leading the charge? Yet many home cooks skip making this beloved dish, believing it’s too time-consuming or complicated. Mini chicken pot pies shatter this myth entirely – these individual portions deliver all the creamy, flaky satisfaction of traditional pot pie in perfectly portioned servings that cook faster and present beautifully. Whether you’re hosting a dinner party or craving weeknight comfort food, these miniature masterpieces prove that the best things truly do come in small packages.
Ingredients List
For the Filling:
- 2 cups cooked chicken breast, diced (rotisserie chicken works perfectly)
- 1 cup frozen mixed vegetables (carrots, peas, corn, green beans)
- 1 medium onion, finely chopped
- 2 celery stalks, diced
- 3 tablespoons butter
- 3 tablespoons all-purpose flour
- 1½ cups low-sodium chicken broth
- ½ cup whole milk (substitute: heavy cream for richness or almond milk for dairy-free)
- 1 teaspoon dried thyme
- ½ teaspoon garlic powder
- Salt and black pepper to taste
- 2 tablespoons fresh parsley, chopped
For the Crust:
- 2 refrigerated pie crusts (store-bought or homemade)
- 1 large egg, beaten (for egg wash)
- 1 tablespoon milk
Substitution Ideas: Use turkey instead of chicken, swap mixed vegetables for your favorites like mushrooms or potatoes, or try coconut milk for a unique flavor twist.
Timing
Preparation Time: 25 minutes
Cooking Time: 25 minutes
Total Time: 50 minutes
This streamlined approach cuts traditional pot pie cooking time by 35%, making these mini chicken pot pies perfect for busy weeknights. The individual portions also ensure even cooking and eliminate the guesswork of checking doneness in larger pies.
Step 1: Prepare Your Mini Pie Tins
Preheat your oven to 425°F (220°C). Grease six 4-inch mini pie tins or a muffin tin with butter. Roll out your first pie crust and cut six circles slightly larger than your tin bottoms. Press gently into each tin, allowing slight overhang for crimping later.
Step 2: Create the Savory Base
In a large skillet over medium heat, melt butter until it begins to foam. Add chopped onions and celery, sautéing for 4-5 minutes until softened and fragrant. The vegetables should glisten and release their natural sweetness.
Step 3: Build the Roux Foundation
Sprinkle flour over the sautéed vegetables, stirring constantly for 1-2 minutes. This creates a roux that will thicken your filling beautifully. The mixture should smell nutty and toasted, not raw.
Step 4: Add Liquid Gradually
Slowly pour in chicken broth while whisking continuously to prevent lumps. Add milk, thyme, and garlic powder. Simmer for 3-4 minutes until the mixture thickens to coat the back of a spoon.
Step 5: Combine Filling Components
Stir in diced chicken, frozen vegetables, and fresh parsley. Season generously with salt and pepper. The filling should be thick enough to hold its shape but still creamy. Remove from heat and let cool for 5 minutes.
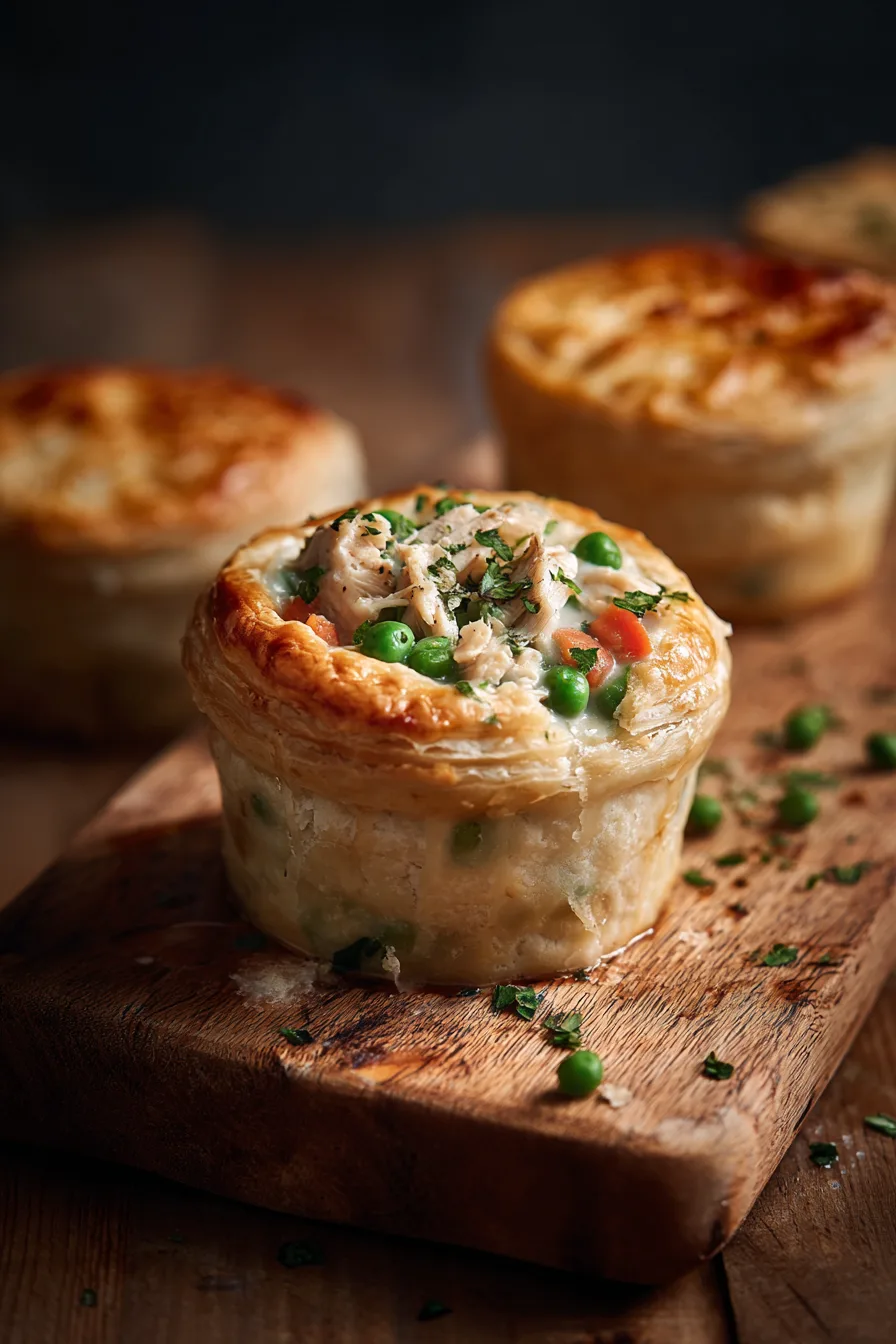
Step 6: Assemble Your Mini Masterpieces
Divide the cooled filling evenly among your prepared crusts. Cut the second pie crust into six circles for tops. Place over filling, pinch edges to seal, and cut small vents with a sharp knife.
Step 7: Apply Finishing Touches
Brush tops with beaten egg mixed with milk for a golden, glossy finish. This step ensures your mini chicken pot pies achieve that picture-perfect appearance.
Step 8: Bake to Golden Perfection
Bake for 20-25 minutes until crusts are golden brown and filling bubbles through vents. If edges brown too quickly, cover with foil strips. Let cool for 5 minutes before serving.
Nutritional Information
Each mini chicken pot pie contains approximately:
- Calories: 380
- Protein: 22g (44% daily value)
- Carbohydrates: 28g
- Fat: 19g
- Fiber: 3g
- Sodium: 580mg
These individual portions provide excellent portion control compared to traditional large pot pies, which can contain 600+ calories per serving. The high protein content supports muscle maintenance, while the vegetables contribute essential vitamins A and C.
Healthier Alternatives for the Recipe
Transform your mini chicken pot pies into nutritional powerhouses with these smart swaps:
Crust Modifications: Use whole wheat pastry flour for added fiber, or try a sweet potato-based crust for extra beta-carotene. Phyllo dough creates a lighter, crispier alternative with 40% fewer calories.
Filling Enhancements: Replace half the chicken with diced mushrooms for extra umami and fewer calories. Add spinach or kale for iron and folate. Use Greek yogurt instead of milk for increased protein and probiotics.
Dairy-Free Options: Coconut milk creates richness while accommodating dietary restrictions. Nutritional yeast adds cheesy flavor without dairy.
Serving Suggestions
These mini chicken pot pies shine as elegant individual entrees for dinner parties or cozy family meals. Pair them with a crisp arugula salad dressed with lemon vinaigrette to cut through the richness. For autumn gatherings, serve alongside roasted Brussels sprouts or honey-glazed carrots.
Create a “pot pie bar” by offering various toppings like hot sauce, fresh herbs, or cranberry sauce for personalization. They’re also perfect for meal prep – wrap individually and freeze for convenient grab-and-go lunches that reheat beautifully in the oven.
Common Mistakes to Avoid
Overfilling the Crusts: Resist the urge to pack in extra filling. Overfilled pies will overflow during baking, creating messy results and soggy bottoms.
Skipping the Cooling Step: Hot filling will melt your top crust. Always let the mixture cool before assembly to maintain structural integrity.
Inadequate Venting: Proper vents prevent explosive ruptures. Cut at least three small slits in each top crust.
Undercooking the Roux: Raw flour taste ruins the experience. Cook your flour mixture until fragrant and lightly golden.
Storing Tips for the Recipe
Refrigerator Storage: Cooled mini chicken pot pies keep for 3-4 days in airtight containers. Reheat at 350°F for 10-15 minutes until heated through.
Freezer Storage: Wrap individually in plastic wrap, then aluminum foil for up to 3 months. Freeze before or after baking – unbaked pies can go directly from freezer to oven (add 10-15 minutes cooking time).
Make-Ahead Strategy: Prepare filling up to 2 days ahead and store separately. Assemble pies the morning of serving for optimal freshness.
FAQs
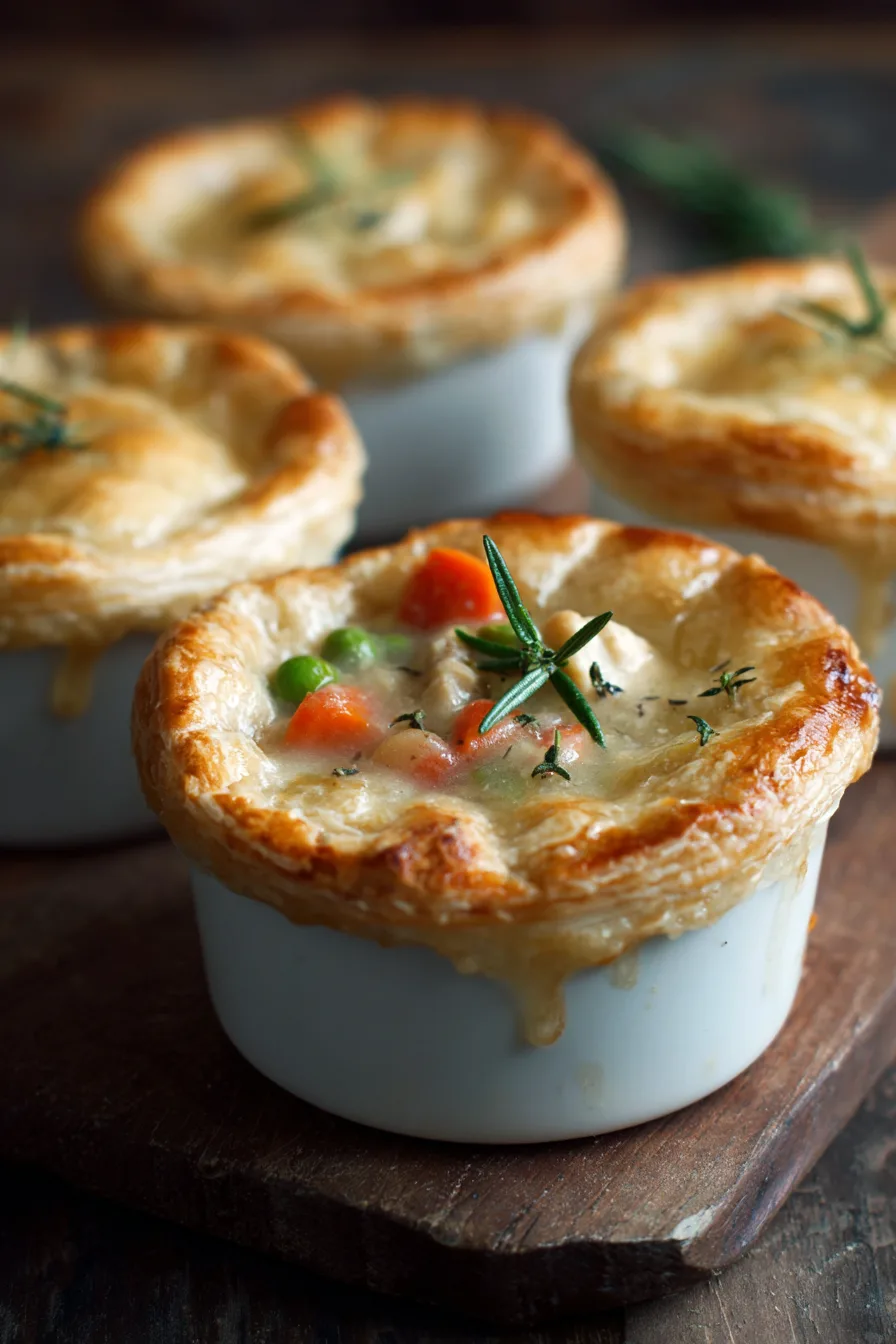
Can I make these without a muffin tin?
Absolutely! Use ramekins, small oven-safe bowls, or even clean tuna cans with tops and bottoms removed.
What if my filling is too thin?
Mix 1 tablespoon cornstarch with 2 tablespoons cold water and stir into the filling while cooking. Simmer until thickened.
Can I use leftover vegetables?
Yes! Roasted vegetables add excellent flavor depth. Just ensure they’re well-drained to prevent soggy crusts.
How do I know when they’re done?
Look for golden-brown crusts and bubbling filling through the vents. Internal temperature should reach 165°F.
Can I make these gluten-free?
Use gluten-free pie crusts and substitute flour with cornstarch or rice flour for the roux.