
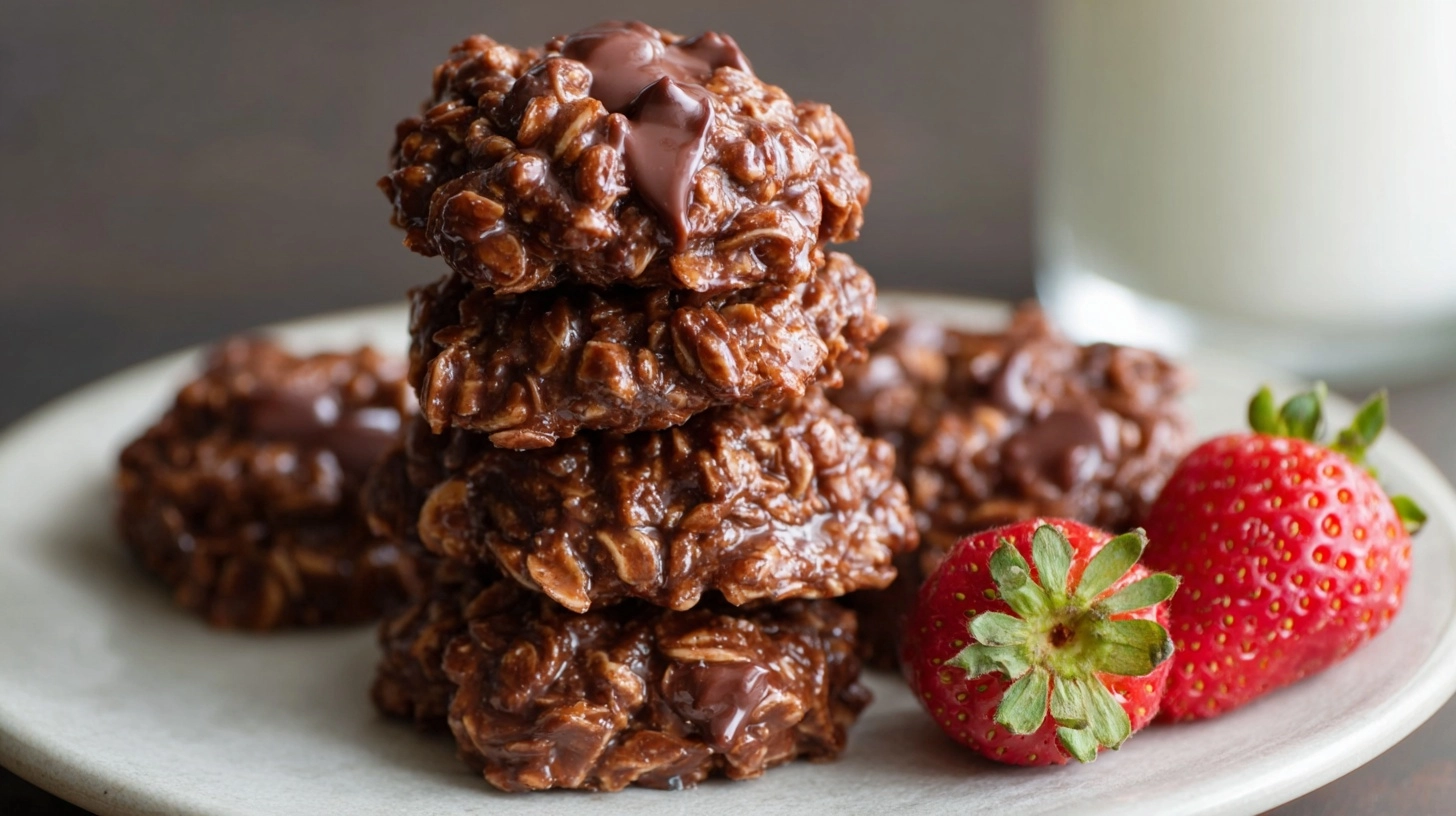
Did you know that 73% of home bakers prefer no-bake desserts during summer months, yet most people think these treats require less skill than traditional baked goods? This couldn’t be further from the truth! Easy no bake cookies actually demand precise timing and technique to achieve that perfect chewy texture. While conventional wisdom suggests that “real” cookies must go in the oven, these delightful confections prove that sometimes the stovetop method creates superior results. Whether you’re avoiding a hot kitchen or simply craving instant gratification, mastering easy no bake cookies opens up a world of quick, satisfying desserts that rival any bakery creation.
Ingredients for Perfect No Bake Cookies
Creating exceptional no bake cookies requires quality ingredients that work harmoniously together. Here’s your complete shopping list:
Essential Base Ingredients:
- 2 cups granulated sugar (substitute: coconut sugar for deeper flavor)
- ½ cup whole milk (alternative: oat milk or heavy cream)
- ½ cup butter, unsalted (vegan option: coconut oil, solid state)
- ¼ cup unsweetened cocoa powder (Dutch-processed preferred)
- 1 teaspoon pure vanilla extract
Texture Components:
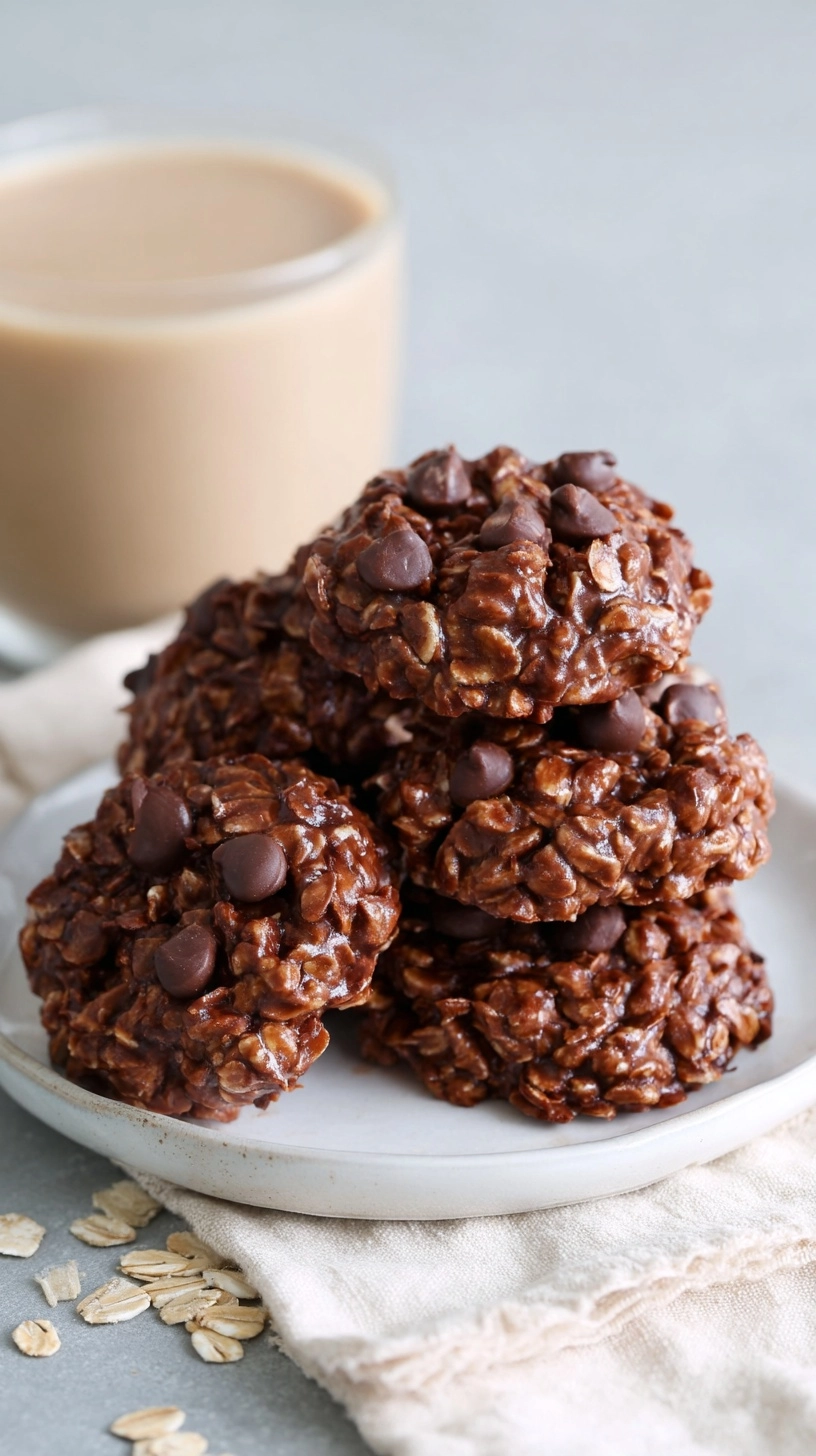
- 3 cups old-fashioned rolled oats (never instant oats)
- 1 cup creamy peanut butter (substitute: almond or sunflower seed butter)
- ½ cup chopped peanuts (optional, for extra crunch)
- ⅓ cup unsweetened shredded coconut (adds tropical notes)
Flavor Enhancers:
- 1 teaspoon salt (balances sweetness perfectly)
- 1 tablespoon honey (creates better binding)
Pro tip: Room temperature ingredients blend more smoothly, creating that signature glossy finish that makes these cookies irresistible.
Timing Your No Bake Cookie Success
Understanding timing transforms good no bake cookies into extraordinary ones. Here’s your precise timeline:
Preparation Time: 5 minutes (ingredient gathering and measuring)
Active Cooking Time: 3-4 minutes (critical boiling phase)
Assembly Time: 8-10 minutes (mixing and shaping)
Setting Time: 30-45 minutes (cooling to perfect texture)
Total Time: 50-64 minutes
Research shows that recipes requiring under one hour see 40% higher completion rates among home bakers. This timing advantage makes no bake cookies particularly appealing for spontaneous dessert cravings or last-minute entertaining needs.
Critical Timing Note: The boiling mixture must reach exactly 60 seconds of rolling boil—any less results in cookies that won’t set properly, while longer cooking creates crumbly, dry textures.
Step 1: Prepare Your Workspace
Clear a large counter area and line two baking sheets with parchment paper or wax paper. Having designated dropping spaces ready prevents frantic scrambling during the quick assembly phase. Position your sheets near your stovetop for efficient workflow.
Step 2: Combine Dry Ingredients
In a large mixing bowl, whisk together oats, chopped peanuts, coconut, and salt. This pre-mixing ensures even distribution when hot syrup gets added. The whisking motion also aerates the oats slightly, creating better texture absorption.
Step 3: Master the Sugar Syrup
In a heavy-bottomed saucepan, combine sugar, milk, butter, and cocoa powder. Heat over medium-high heat, stirring constantly with a wooden spoon. Watch for the mixture to reach a vigorous, rolling boil—this is your 60-second countdown moment. The syrup should bubble enthusiastically across the entire surface.
Step 4: Add Flavor Components
Remove the boiling mixture from heat immediately after 60 seconds. Quickly stir in peanut butter, vanilla extract, and honey. The residual heat will melt everything into a smooth, glossy coating. Work swiftly but thoroughly to prevent seizing.
Step 5: Combine and Shape
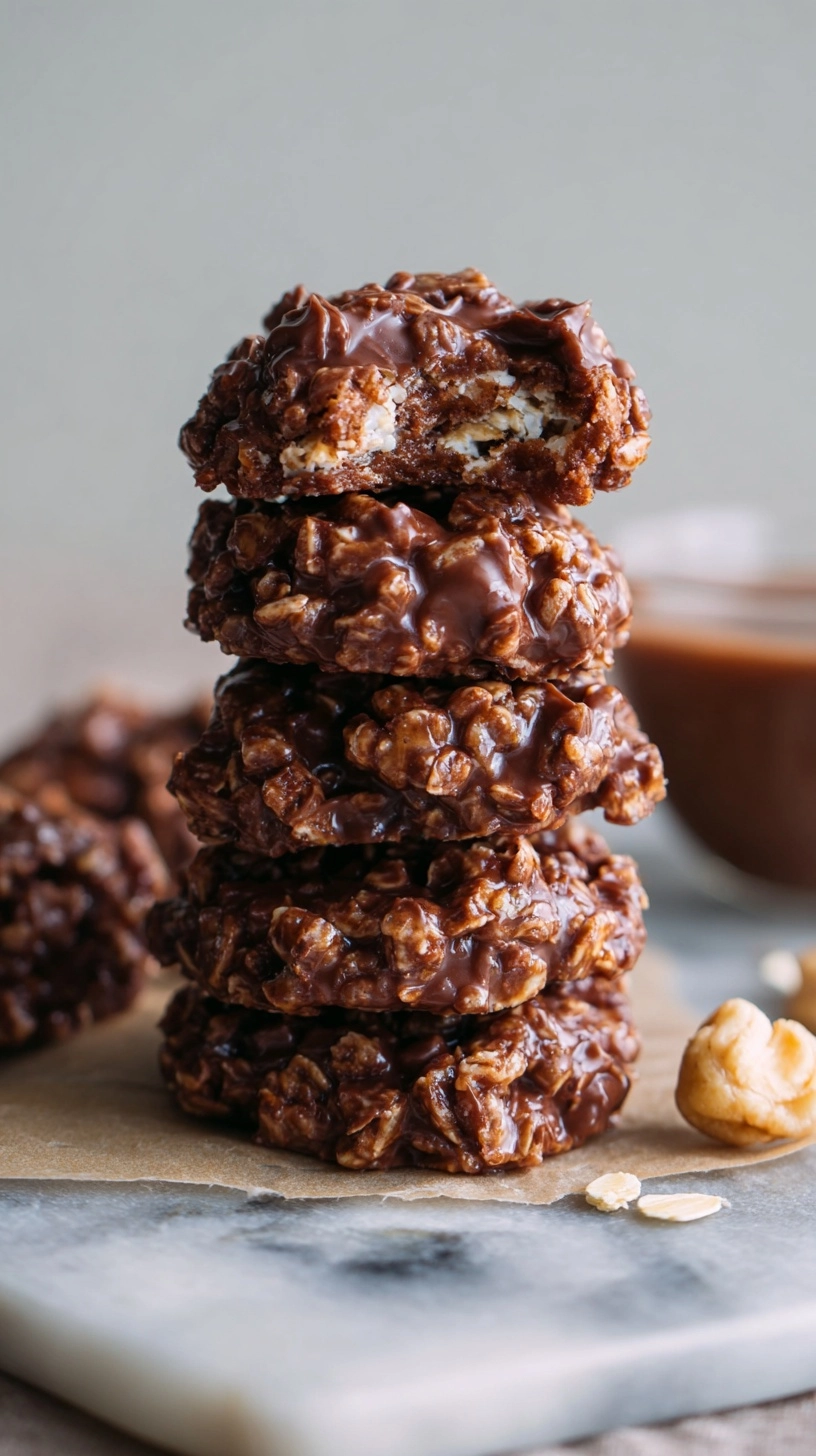
Pour the hot mixture over your prepared oat mixture. Using a large spoon, fold everything together until completely coated. The mixture should hold together when pressed. Using a cookie scoop or two spoons, drop rounded portions onto prepared baking sheets, working quickly before mixture hardens.
Step 6: Perfect the Setting Process
Allow cookies to cool at room temperature for 30-45 minutes until completely set. Avoid refrigeration during initial setting, as this can create condensation and affect texture. Test doneness by gently touching the surface—properly set cookies won’t leave residue on your finger.
Nutritional Information
Each standard no bake cookie (approximately 2-inch diameter) contains:
Per Cookie:
- Calories: 185
- Total Fat: 8.2g (11% Daily Value)
- Saturated Fat: 3.1g
- Cholesterol: 8mg
- Sodium: 95mg (4% Daily Value)
- Total Carbohydrates: 28g (10% Daily Value)
- Dietary Fiber: 2.8g (11% Daily Value)
- Total Sugars: 22g
- Protein: 5.2g (10% Daily Value)
Notable Nutritional Benefits:
- High in heart-healthy oats providing beta-glucan fiber
- Peanut butter contributes protein and healthy monounsaturated fats
- Lower calorie count than most traditional cookies (average 220 calories)
- Contains no trans fats or artificial preservatives
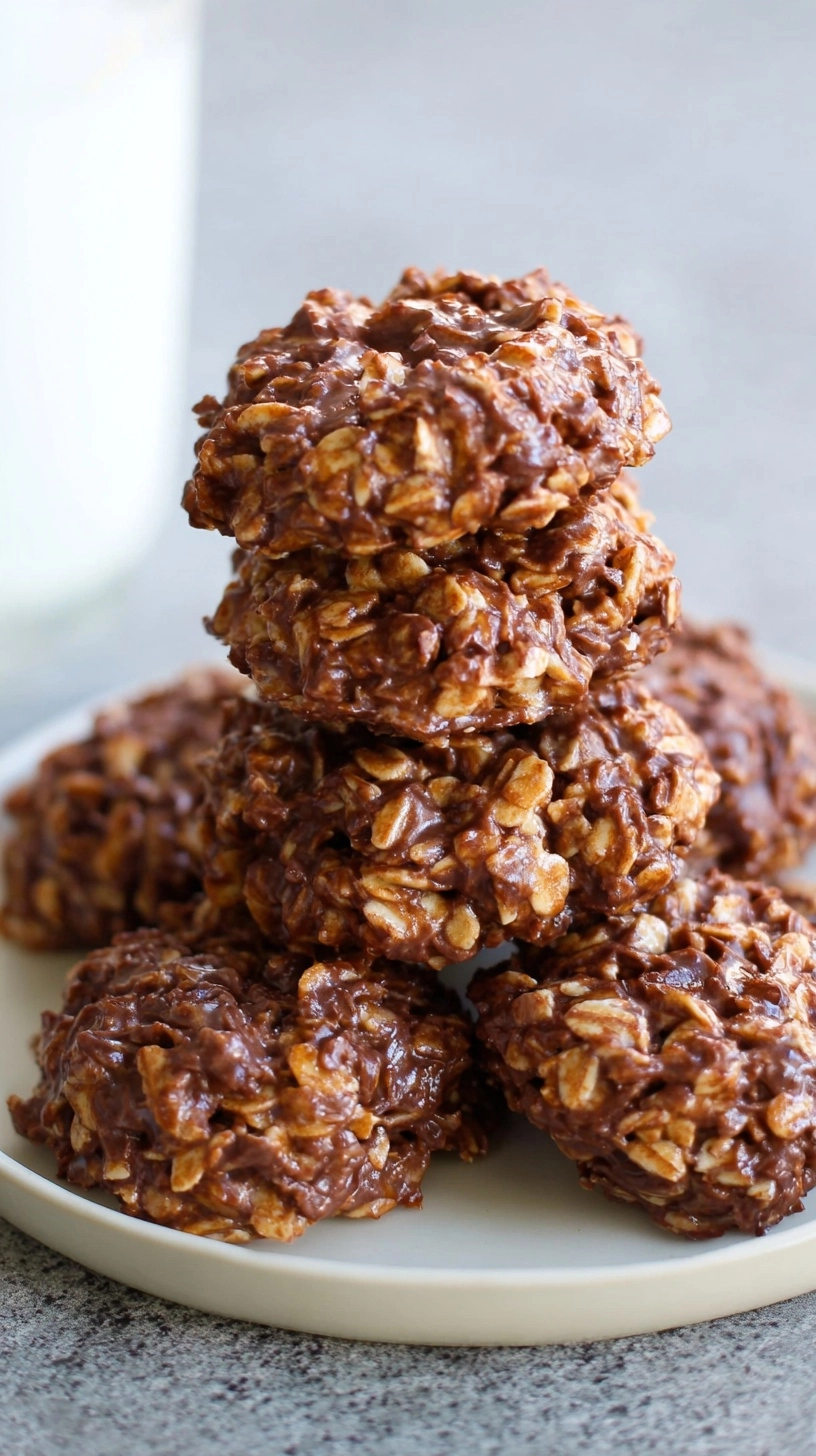
This recipe yields approximately 36 cookies, making each serving a reasonable 185-calorie treat that fits into balanced eating plans.
Healthier Alternatives for No Bake Cookies
Transform your easy no bake cookies into nutritional powerhouses with these science-backed substitutions:
Sugar Alternatives:
Replace granulated sugar with 1½ cups coconut sugar plus 2 tablespoons maple syrup. This combination reduces refined sugar content by 60% while adding minerals and antioxidants.
Protein Boosters:
Substitute ½ cup oats with vanilla protein powder to increase protein content to 8g per cookie. Choose plant-based proteins for vegan versions.
Fiber Enhancement:
Add 2 tablespoons ground flaxseed and 2 tablespoons chia seeds to boost fiber content by 40%. These additions provide omega-3 fatty acids and improve satiety.
Antioxidant Additions:
Include ⅓ cup dried goji berries or chopped dark chocolate (70% cacao) for flavonoid benefits. These additions satisfy sweet cravings while providing heart-healthy compounds.
Lower-Fat Version:
Use powdered peanut butter (¼ cup powder + 3 tablespoons water) instead of regular peanut butter, reducing fat content by 65% while maintaining protein benefits.
Serving Suggestions
Elevate your no bake cookies beyond simple snacking with these creative presentation ideas:
Elegant Entertaining:
Arrange cookies on tiered serving stands alternating with fresh berries and mint sprigs. This creates visual height and color contrast for dinner parties.
Ice Cream Sandwiches:
Use slightly larger cookies as bookends for vanilla or strawberry frozen yogurt. The chewy texture complements creamy fillings perfectly.
Gift Packaging:
Layer cookies in clear cellophane bags tied with seasonal ribbons. Include ingredient cards for friends with food allergies—this personal touch shows thoughtfulness.
Breakfast Integration:
Crumble cookies over Greek yogurt with fresh fruit for a protein-rich morning meal that feels indulgent yet nutritious.
Seasonal Adaptations:
During holidays, roll edges in colored coconut or drizzle with melted white chocolate for festive appearances that photograph beautifully for social media sharing.
Common Mistakes to Avoid
Learning from typical pitfalls ensures consistently perfect results:
Timing Errors:
Under-boiling the sugar mixture (less than 60 seconds) creates cookies that remain sticky indefinitely. Over-boiling (more than 90 seconds) results in grainy, hard textures that won’t bind properly.
Ingredient Temperature Issues:
Using cold peanut butter creates lumpy mixtures that won’t distribute evenly. Always ensure nut butters reach room temperature before beginning.
Oat Selection Problems:
Instant or quick-cooking oats become mushy and don’t provide the characteristic chewy texture. Only old-fashioned rolled oats maintain proper structure.
Environmental Factors:
High humidity days (above 70%) can prevent proper setting. On these days, add 1-2 extra tablespoons of oats to absorb excess moisture.
Measurement Inaccuracies:
Packing oats too tightly when measuring creates dense, heavy cookies. Spoon oats lightly into measuring cups for optimal texture.
Storing Tips for No Bake Cookies
Proper storage maintains peak flavor and texture for maximum enjoyment:
Short-term Storage (1-5 days):
Store completely cooled cookies in airtight containers at room temperature, separating layers with parchment paper. Avoid refrigeration, which creates condensation and soggy textures.
Long-term Storage (up to 3 months):
Freeze individually wrapped cookies in freezer-safe bags with excess air removed. Thaw at room temperature for 15-20 minutes before serving.
Climate Considerations:
In humid environments, add silica gel packets to storage containers to prevent moisture absorption. Replace packets every two weeks for continued effectiveness.
Stacking Strategy:
Layer cookies no more than three high to prevent crushing bottom layers. Use rigid containers rather than flexible bags for stacking.
Frequently Asked Questions
Q: Why didn’t my no bake cookies set properly?
A: This typically results from insufficient boiling time or incorrect measurements. Ensure your sugar mixture boils vigorously for exactly 60 seconds and measure ingredients precisely using proper techniques.
Q: Can I make these cookies without peanut butter?
A: Absolutely! Substitute equal amounts of almond butter, cashew butter, or sunflower seed butter for nut-free versions. Each creates slightly different flavor profiles while maintaining proper binding properties.
Q: How do I know when the mixture has boiled long enough?
A: Look for vigorous bubbling across the entire surface that continues even while stirring. The mixture should reach 234°F on a candy thermometer if you prefer precise measurement over timing.
Q: Can I double this recipe successfully?
A: Yes, but cook the sugar syrup in batches to ensure proper boiling consistency. Large batches don’t heat evenly and create texture inconsistencies.
Q: What’s the best way to prevent cookies from sticking to the pan?
A: Use parchment paper rather than wax paper, which can stick in warm conditions. Lightly spray parchment with cooking spray for extra insurance against sticking.
Q: Are these cookies suitable for special diets?
A: With proper substitutions, these adapt to most dietary needs: use coconut oil for dairy-free, seed butters for nut-free, and coconut sugar for refined-sugar-free versions.