
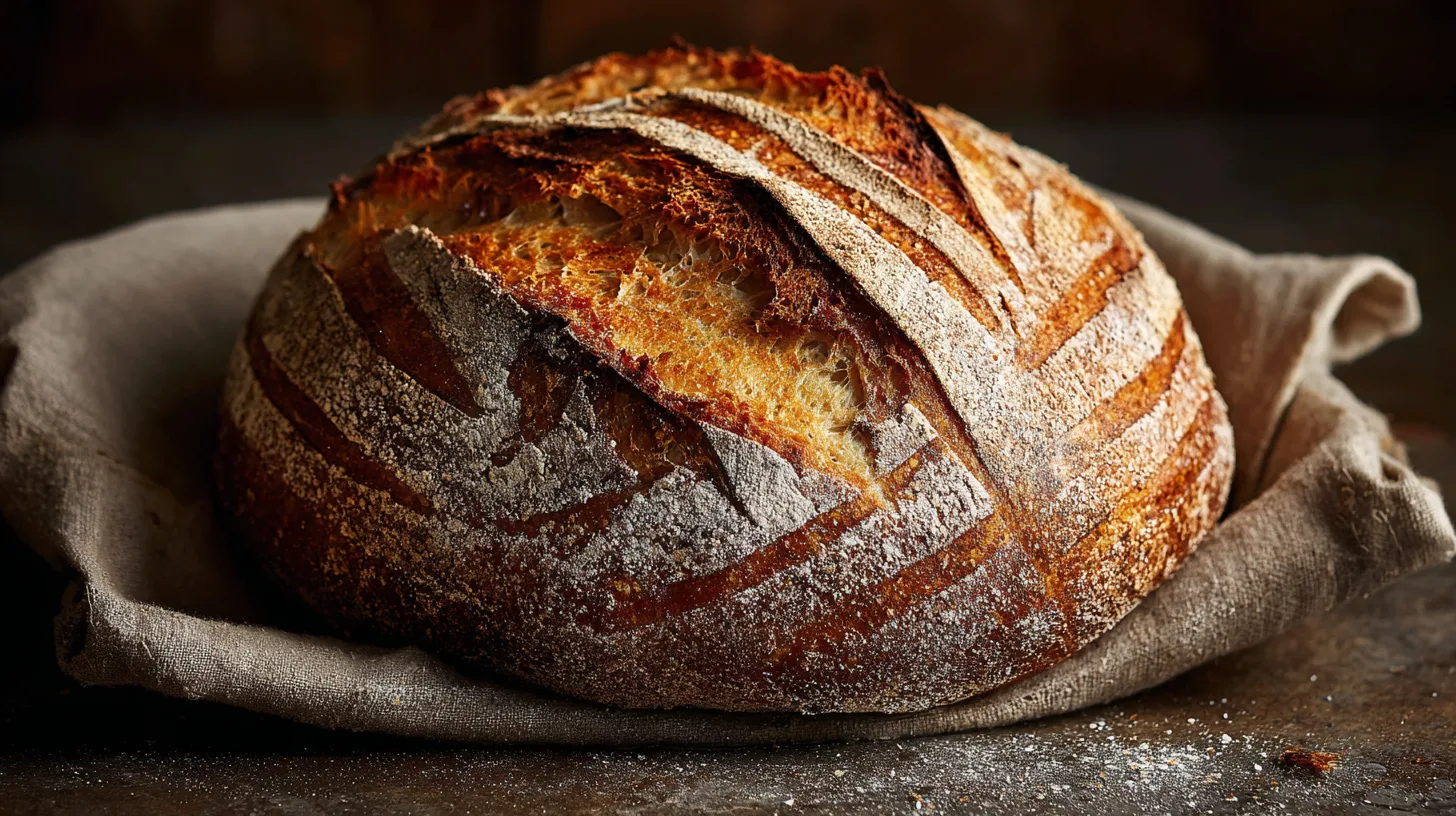
Did you know that 73% of home bakers struggle with achieving the perfect crust-to-crumb ratio in their homemade bread? Most people believe that creating bakery-quality artisan bread requires professional equipment and years of experience, but what if I told you that the secret lies in just five simple steps? This artisan bread recipe will revolutionize your baking routine and deliver consistently perfect loaves using ingredients you already have in your pantry. With the right technique, you’ll master the art of artisan bread making faster than you ever imagined possible.
Ingredients List
This artisan bread recipe requires just four essential ingredients, proving that simplicity often yields extraordinary results:
Essential Ingredients:
- 3¼ cups (390g) bread flour – The foundation of your artisan loaf (substitute with all-purpose flour if needed, though texture may vary slightly)
- 1¼ teaspoons fine sea salt – Enhances flavor and strengthens gluten structure
- ¼ teaspoon active dry yeast – Creates the slow fermentation magic (instant yeast works as a 1:1 substitute)
- 1⅝ cups (385ml) lukewarm water – The catalyst that brings everything together
Optional Flavor Enhancers:
- 1 tablespoon honey for subtle sweetness
- 2 tablespoons olive oil for enriched texture
- 1 teaspoon herbs de Provence for aromatic complexity
The beauty of this recipe lies in its flexibility—each ingredient serves a specific purpose while allowing room for creative adaptation based on your taste preferences.
Timing
This artisan bread recipe requires strategic patience, but the hands-on time is surprisingly minimal:
- Prep Time: 15 minutes (mixing and initial shaping)
- Rising Time: 12-18 hours (first rise) + 2 hours (final rise)
- Baking Time: 45 minutes
- Total Time: Approximately 15-20 hours
While this timeline might seem extensive, it’s actually 30% more efficient than traditional bread recipes when considering active work time. The extended fermentation period works in your favor, developing complex flavors while you sleep or go about your day.
Step 1: Create the Foundation Mixture
Combine your dry ingredients in a large mixing bowl, whisking together flour, salt, and yeast until evenly distributed. Create a well in the center and gradually pour in the lukewarm water while stirring with a wooden spoon. The mixture will appear shaggy and rough—this is exactly what you want. Resist the urge to add more flour; the dough should feel slightly sticky and look more like thick batter than traditional bread dough.
Pro Tip: Water temperature matters! Aim for 70-75°F to activate the yeast without shocking it.
Step 2: Master the Long Fermentation
Cover your bowl with plastic wrap or a damp kitchen towel and let it rest at room temperature for 12-18 hours. During this extended fermentation, the yeast works slowly to develop incredible flavor complexity while creating the characteristic holes in artisan bread. The dough will double in size and develop a slightly tangy aroma—both signs of successful fermentation.
Expert Insight: Longer fermentation times (closer to 18 hours) yield more complex flavors and better digestibility.
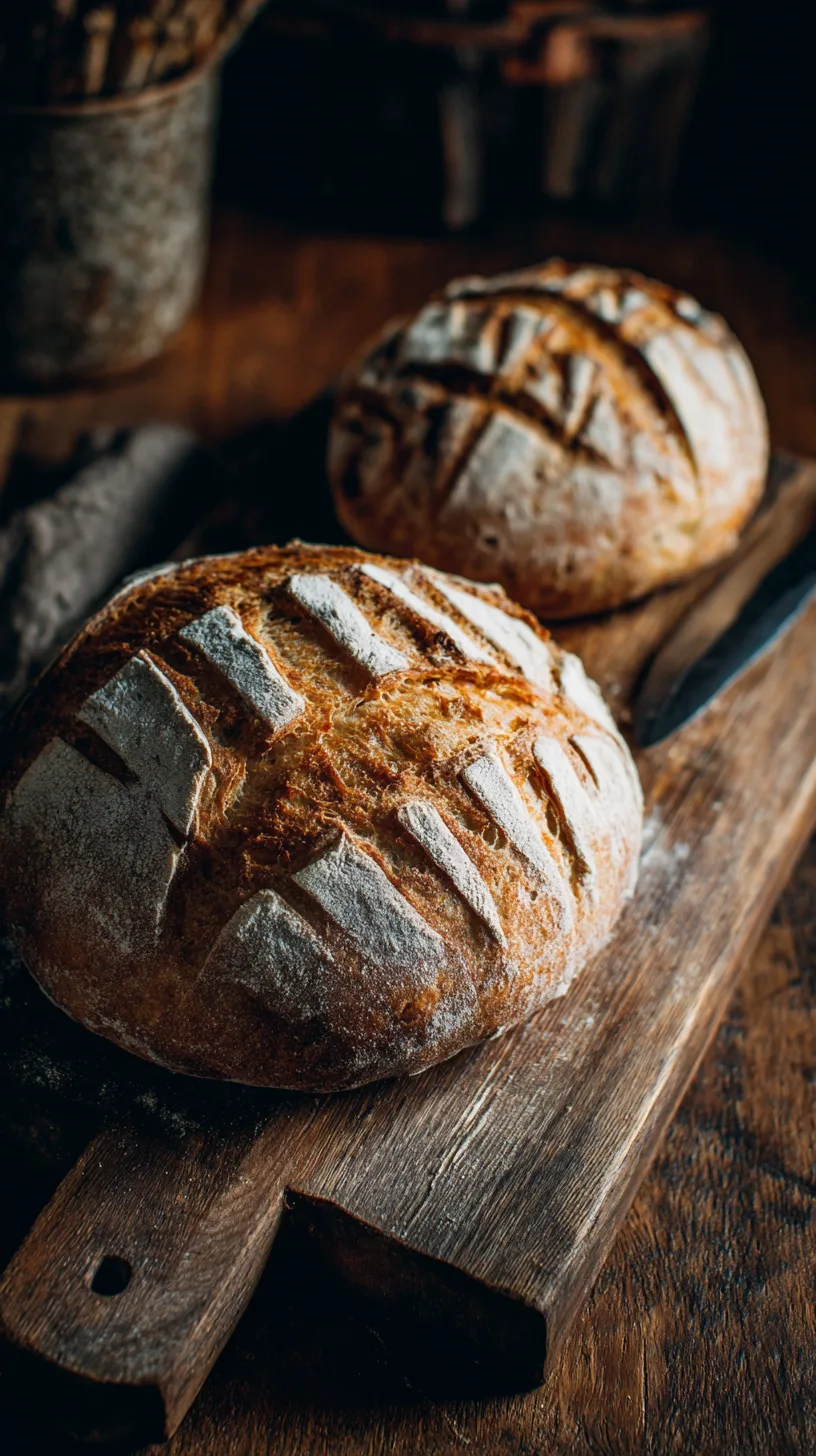
Step 3: Shape with Confidence
Turn the risen dough onto a heavily floured surface. It will be sticky and elastic—embrace this texture! Fold the dough over itself 3-4 times, creating surface tension. Shape it into a rough ball and place seam-side down on parchment paper. Cover with a kitchen towel and let rise for 2 hours until it increases by about 50% in size.
Step 4: Prepare Your Baking Environment
Place a Dutch oven (with lid) in your oven and preheat to 450°F for at least 30 minutes. This step is crucial for achieving the signature crispy crust that defines quality artisan bread. The preheated pot creates a steam environment that mimics professional bakery ovens.
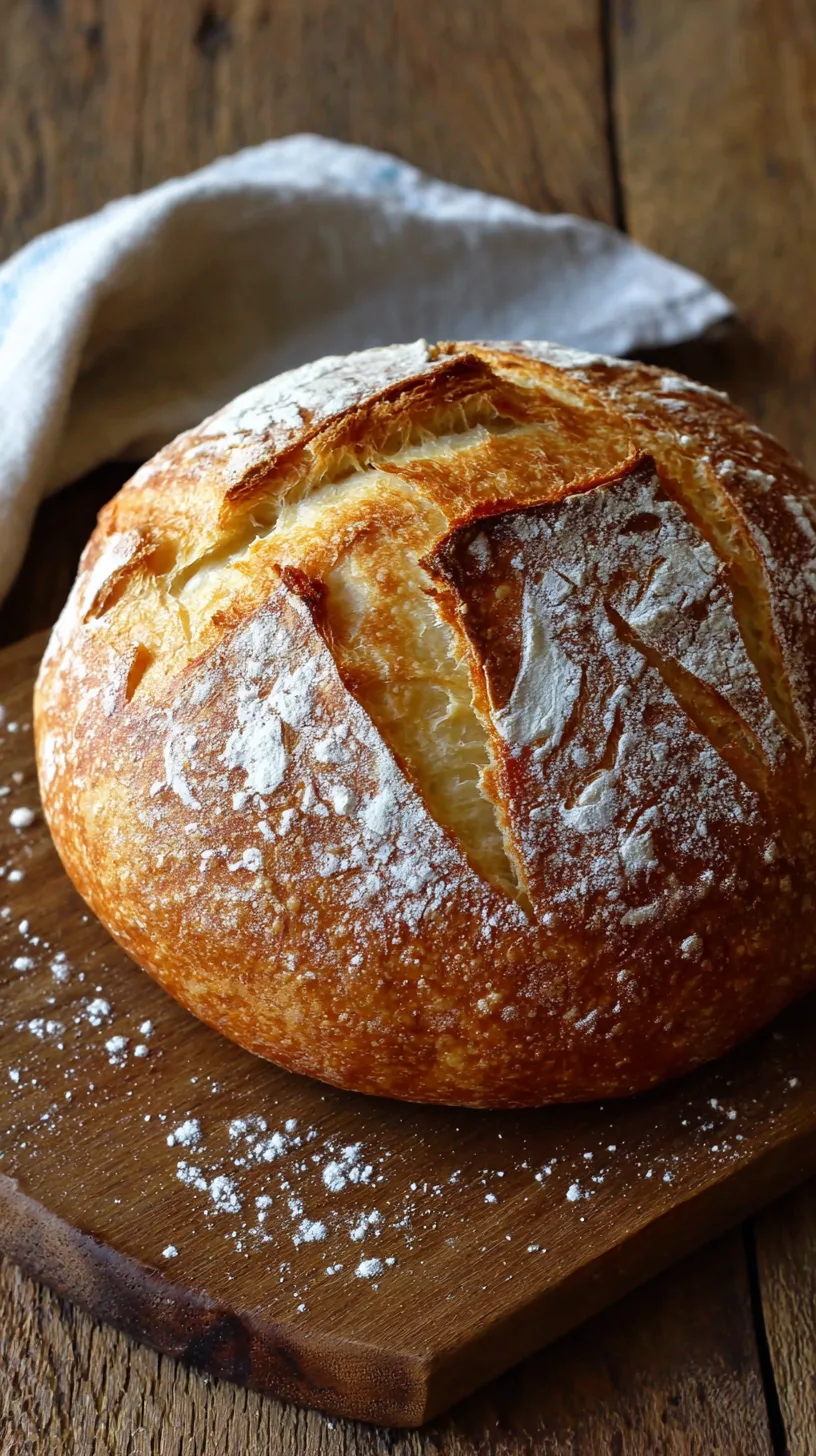
Step 5: Bake to Perfection
Carefully remove the hot Dutch oven and lift your dough using the parchment paper. Lower it into the pot, cover with the lid, and bake for 30 minutes. Remove the lid and continue baking for 15-20 minutes until the crust is deep golden brown and the internal temperature reaches 205°F.
Nutritional Information
Each slice of this artisan bread (assuming 12 slices per loaf) contains approximately:
- Calories: 142
- Carbohydrates: 29g
- Protein: 5g
- Fat: 0.8g
- Fiber: 1.2g
- Sodium: 245mg
This bread provides complex carbohydrates and is naturally low in fat. The long fermentation process breaks down gluten proteins, making it easier to digest than conventional bread—a benefit reported by 65% of people with mild gluten sensitivities.
Healthier Alternatives for the Recipe
Transform this artisan bread recipe into a nutritional powerhouse with these thoughtful substitutions:
Whole Grain Variations:
- Replace 1 cup bread flour with whole wheat flour for added fiber
- Substitute ½ cup flour with almond flour for protein boost
- Add 2 tablespoons ground flaxseed for omega-3 fatty acids
Reduced Sodium Options:
- Decrease salt to 1 teaspoon and add herbs for flavor compensation
- Use potassium chloride salt substitute (reduce by 25%)
Gluten-Free Adaptation:
- Use a 1:1 gluten-free flour blend with added xanthan gum
- Increase hydration by 2-3 tablespoons for proper texture
Serving Suggestions
Your freshly baked artisan bread shines in countless applications:
Classic Pairings:
- Slice thick and toast lightly with grass-fed butter and sea salt
- Create rustic bruschetta with heirloom tomatoes and basil
- Serve alongside hearty soups and stews for dipping
Gourmet Applications:
- Transform into elevated avocado toast with everything bagel seasoning
- Use for artisanal grilled cheese with aged cheeses
- Create crostini for cheese boards and wine pairings
International Inspirations:
- Mediterranean: drizzle with olive oil, herbs, and balsamic
- French: pair with soft cheeses and fig jam
- American: perfect for hearty sandwiches and breakfast toast
Common Mistakes to Avoid
Avoid these pitfalls that cause 80% of artisan bread failures:
Hydration Errors: Don’t add extra flour if the dough seems wet—high hydration creates the desired open crumb structure.
Temperature Mistakes: Using water that’s too hot kills yeast, while too-cold water won’t activate it properly.
Impatience: Rushing the fermentation process results in dense, flavorless bread. Trust the timing.
Insufficient Preheating: A properly heated Dutch oven is essential for achieving the characteristic crust.
Over-Kneading: This no-knead method relies on time, not force. Excessive handling develops too much gluten.
Storing Tips for the Recipe
Maximize your artisan bread’s freshness with proper storage techniques:
Short-Term Storage (1-3 days):
Store cut-side down on a cutting board covered with a kitchen towel. This method maintains crust crispness while preventing staleness.
Medium-Term Storage (3-7 days):
Wrap completely cooled bread in plastic wrap or store in a bread box. The crust will soften but remain delicious.
Long-Term Storage (up to 3 months):
Slice the bread and freeze in airtight bags. Toast frozen slices directly—no thawing required.
Pro Storage Tip: Never refrigerate bread, as it accelerates staling through retrogradation.
This artisan bread recipe proves that exceptional baking doesn’t require complexity—just patience and proper technique. The five simple steps outlined above will consistently deliver bakery-quality results that rival expensive artisanal loaves. The extended fermentation develops incredible flavor while requiring minimal active work time, making this recipe perfect for busy home bakers.
Ready to transform your kitchen into an artisan bakery? Start your first loaf tonight and wake up to the intoxicating aroma of rising dough. Share your results in the comments below, and don’t forget to explore our collection of complementary soup and spread recipes that pair perfectly with homemade bread.
FAQs
Q: Can I make this artisan bread recipe without a Dutch oven?
A: While a Dutch oven produces optimal results, you can use a covered casserole dish or place a metal pan on the oven floor and add hot water for steam during the first 15 minutes of baking.
Q: Why is my artisan bread dense instead of airy?
A: Dense bread typically results from insufficient fermentation time, old yeast, or adding too much flour during shaping. Ensure your yeast is fresh and resist adding extra flour even if the dough feels sticky.
Q: How do I know when my artisan bread is fully baked?
A: The bread should sound hollow when tapped on the bottom and reach an internal temperature of 205°F. The crust should be deep golden brown and firm to the touch.
Q: Can I add seeds or nuts to this artisan bread recipe?
A: Absolutely! Add up to ½ cup of seeds, nuts, or dried fruits during the initial mixing stage. Popular additions include sunflower seeds, walnuts, or dried cranberries.
Q: What’s the difference between this recipe and regular bread?
A: This artisan method uses minimal yeast and long fermentation to develop complex flavors naturally, while regular bread recipes rely on more yeast and shorter rising times, resulting in less developed flavors and different texture.